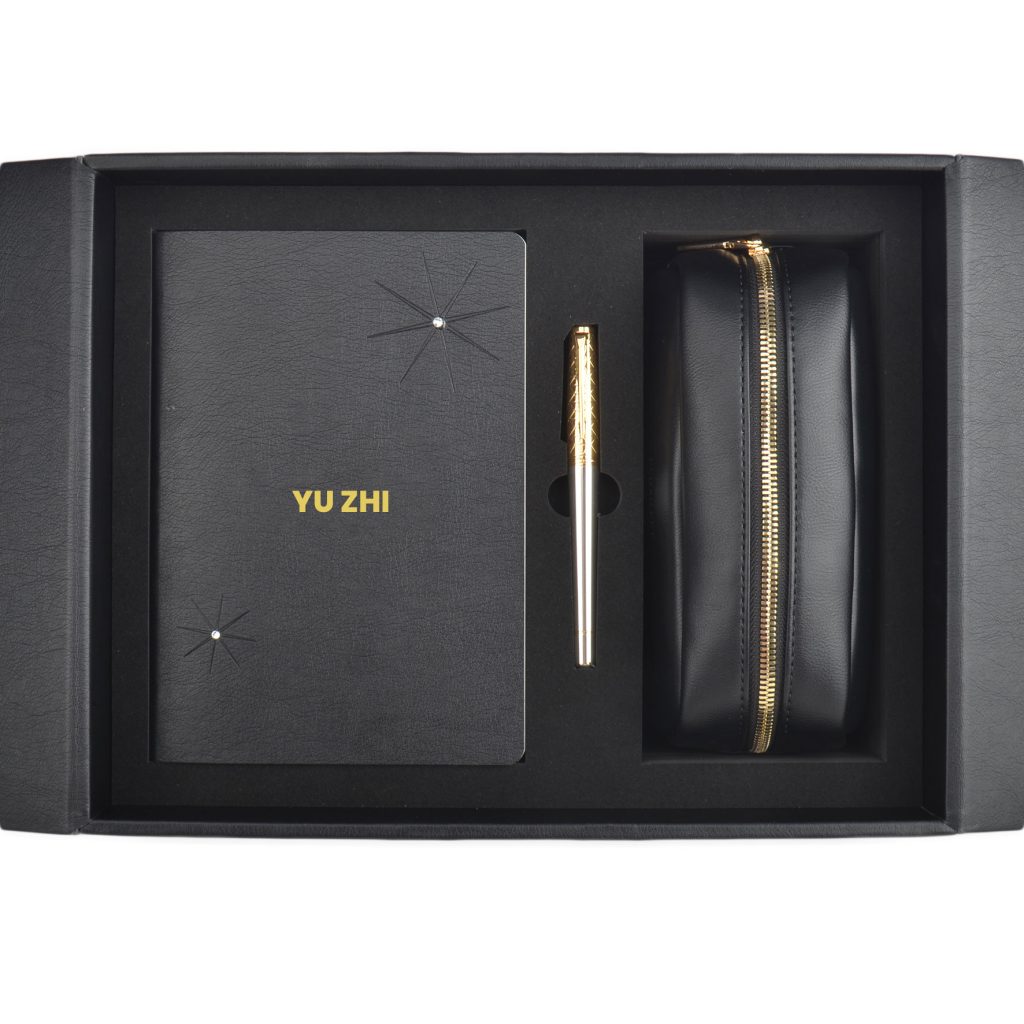
How To Customize A Notebook Gift Set
3 Phases and 4 Tips for Customization
Phase One: Preliminary Preparation and Self-Reflection (The most crucial step!)
Before contacting the factory, consider the following questions. This will help you communicate more effectively and receive an accurate quote.
1. Customization Purpose and Budget
·What is the purpose? Is it for high-end business gifts, conference giveaways, promotional items, or employee benefits? This determines the product’s quality and budget.
·Who is the target audience? Entrepreneurs, regular employees, students, or consumers? This dictates the design style and functionality.
·What is the budget? This is the core factor determining materials, craftsmanship, and packaging. Only with a clear budget range can the seller provide the most suitable solution.
2. Quantity and Timing
·What is the custom order quantity? Factories typically have a minimum order quantity (MOQ). Higher quantities result in lower unit prices.
·When is it needed? Production requires lead time. Be sure to allow sufficient time (typically 15-30 days, longer for complex processes).
3. Design Concept
·Are there existing design drafts? Having complete design files (AI/CDR source files) is ideal.
·Or is it just an idea? If it’s only an idea, Some large factories also offer design services, but these come with additional fees. However, our company can provide complimentary design services.
·Brand Elements: Confirm the logo, slogan, and other elements that need to be displayed.
Phase Two: Determining Product Specifications and Materials (The Core of Factory Communication)
Armed with the answers from Phase One, you can now discuss product details in depth with the factory. A standard notebook gift set typically includes the following components:
1. Notebook Inserts:
·Sizes: A5 (most common), A6 (portable), A4 (office), B5, or other custom sizes.
·Page Layout: Ruled, Grid, Dot Grid, Blank, Work Schedule Pages (self-date or pre-printed dates).
·Paper:
–Material: Coated Paper, Ivory Paper, Pure Quality Paper, Eco-Friendly Recycled Paper, etc.
–Grammage: Typically 70g-100g. Higher grammage yields thicker paper with better ink resistance.
·Page Count: 96 pages, 128 pages, 192 pages, etc.
·Binding Methods:
–Saddle Stitching: Suitable for booklets with fewer pages, allows complete lay-flat opening.
–Perfect Binding: Most common, low cost, but does not lay completely flat.
–Sewn Perfect Binding: Premium binding method, allows 180-degree lay-flat opening, durable and resistant to page separation.
–Loose-leaf Binding: Allows flexible replacement of inner pages, but higher cost.
2. Cover and Back Cover
·Materials:
–PU/Faux Leather: Most commonly used, cost-effective, soft to the touch, diverse options.
–Genuine Leather: Premium luxury, high cost, suitable for high-end gifts.
–Cardboard: Often used for soft hardcover, can be coated with various textured films.
–Fabric/Canvas: Artsy, niche style.
–Specialty Paper: Strong artistic appeal, supports diverse surface treatments.
·Finishing Techniques (Key to Elevating Quality):
–Printing:
– Screen Printing (rich, bold colors)
– Foil Stamping (gold/silver, premium and eye-catching)
– Embossing/Debossing (textured relief, understated luxury)
– UV Printing (spot gloss effects)
— Other:
– Hollow-carved
– Die-cutting
3. Accessories (Key Components of the “Set”)
·Common accessories: pens (customizable with logo), bookmarks, gift bags, drinking bottles, USB Flash Drive, etc.
·Determine which accessories require customization and confirm their materials and craftsmanship accordingly.
4. Packaging
·Materials: Kraft paper boxes, white cardboard boxes, corrugated cardboard boxes, PVC transparent boxes, grayboard laminated boxes (highest grade).
·Processing: Similar to covers, can feature foil stamping, embossing, UV coating, etc.
·Design: Window cutouts, waistbands, bows, etc., to enhance the unboxing experience.
Phase Three: Production Process
Standard Production Workflow:
1. Request Quotations: Provide your requirements (quantity, dimensions, materials, processes, accessories, etc.) and solicit quotes from multiple factories for comparison.
2. Sample Production:
After confirming the quote, always insist on sample production!
Pay the sample fee (typically refundable after placing the bulk order). The factory will produce 1-3 physical samples.
Thoroughly inspect all sample details: dimensions, color, material texture, craftsmanship, logo placement, accessory quality, etc.
3. Sample Approval:
Once samples are confirmed satisfactory, sign and return them to the factory as the production standard.
4. Deposit Payment:
Typically pay a 30%-50% deposit. The factory will then procure materials and initiate production.
5. Production & Order Tracking: Maintain communication with the order tracker during production to monitor progress. Arrange mid-production inspection if feasible.
6. Final Inspection: Upon completion, the factory will provide photo/video documentation for verification. Pay the balance after confirming everything is satisfactory.
7. Logistics & Delivery: The factory arranges shipment. Upon receipt, count the quantity and inspect the quality to complete the entire process.
Last but not least, here are 4 tips for you:
1. Samples are crucial! No matter how thorough the communication, nothing beats seeing a physical sample.
2. Allow buffer time! Beyond the production cycle, reserve 1-2 weeks for potential revisions and logistics delays.
3. Communicate details thoroughly! The more detailed the communication, the fewer production errors. A written confirmation checklist is highly recommended.
4. Consider MOQs! Small orders may be difficult to source or result in very high unit costs. Ask factories if they have existing templates available for modification to reduce setup costs.
Wishing you a smooth customization process! If you can provide more specific requirements (e.g., budget, quantity, style), I can offer more tailored advice.
